If you need to do DIY headshots from home and aren’t getting the results you want, here are a few tips on finding great light to take it up a level. Disclaimer: I am the girl who bought a college-level Physics book from a yard sale when I was 15 so that I could read all about the properties of light—it fascinates me! If I get a little nerdy about light, bear with me—I’m going to get practical with this too.
NOTE: All photos in this post were taken with my iPhone, and no editing was done to them, so you can do this too! Tools needed: cell phone, paper plates, and a window/door. Share your pics when you try it!
DIY Headshot Lighting: Go big!
The technical: The bigger the light, the softer the light. A light that is bigger in relation to the subject in a photograph will produce a more gradual transition from highlights to shadows, thus producing a softer look.
The Practical: Unless you are looking for a dramatic photo that shows all lines and wrinkles, you will want to find soft light for your DIY headshot. Do you have a window you can stand next to or a door you could open to let light in? That counts! Pro tip: If it’s a time of day when the sunlight is blazing directly in through your window/door, wait till the sun moves so that the light is not harsh. If it’s a cloudy day, any time of day will work.
DIY Headshot Lighting: Turn the lights off!
The technical: The color of light is measured in degrees Kelvin. Within the range of the spectrum of light that our eyes can perceive, some common temperatures of light in our everyday life are incandescent bulbs which are typically around 3200 degrees Kelvin, and midday sunlight which is about 5200 degrees Kelvin.
The Practical: When you take your DIY headshot, consider all the lights affecting your image. Sunlight is “blue” light, while a light bulb in your house from a lamp or your ceiling is often more “yellow.” So if you are standing by that door or window that we talked about, but you have indoor lighting to your side or overhead, I recommend turning those off so that they do not add a weird mix of colors to your photo.
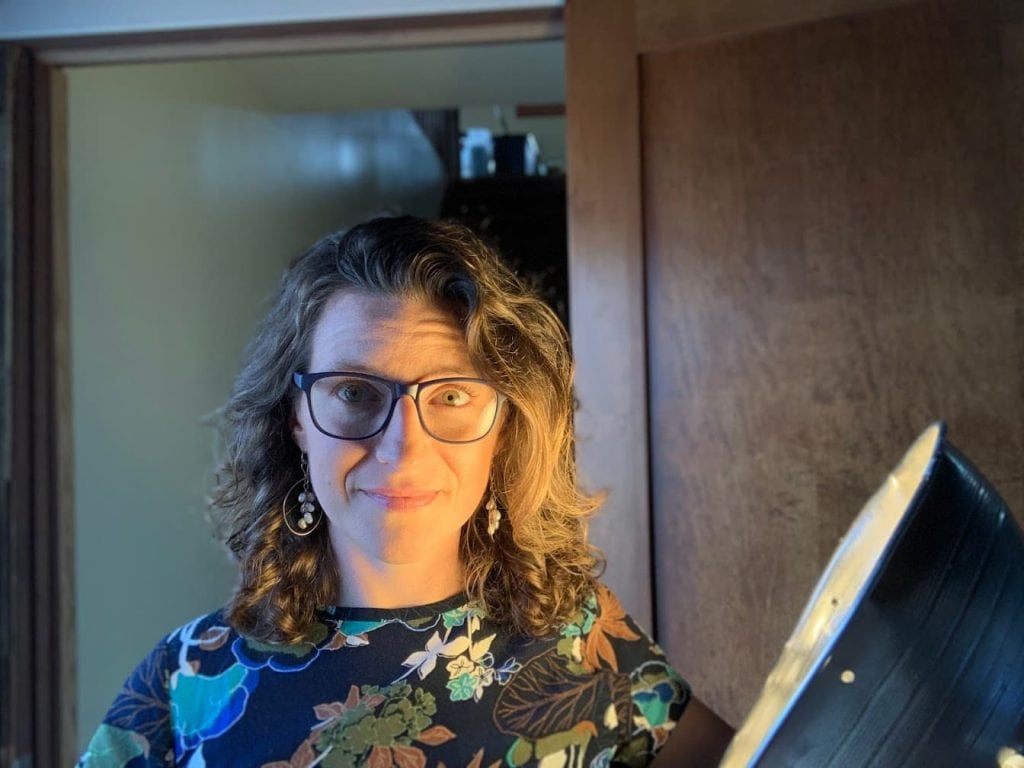
DIY Headshot Lighting: Fill in those shadows

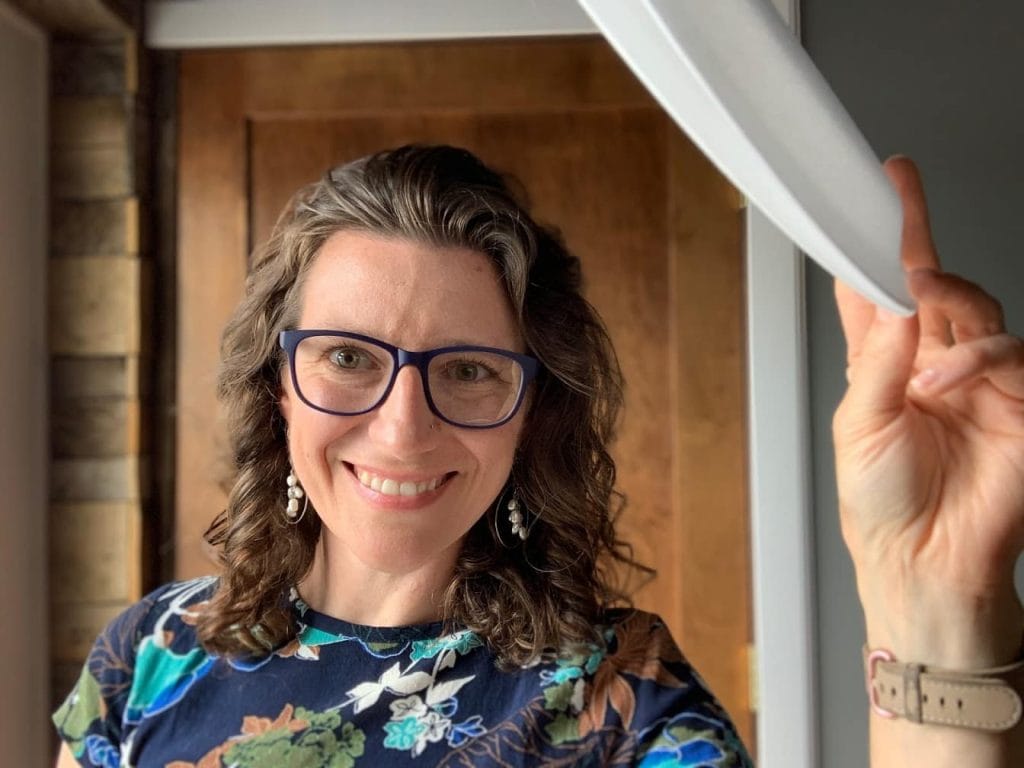
The technical: The angle of reflection equals the angle of incidence. This is a rule of physics that applies to light, so we can position a reflector knowing that the angle of the rays of light bouncing off of it will match the angle at which they hit the reflector.
The Practical: To maximize your DIY headshot, you will want to strategically brighten up shadows, like the ones that are hiding your eyes or making your wrinkles stand out. To do this simply grab something that is white (e.g. a white poster board, a white pillow case, a white sheet, a white styrofoam plate). Then, simply hold your white object on the side opposite your light source (such as the door or window) and direct some light back into your face. Have some fun with it! Move that reflector around and watch how it brightens up your eyes and lights up any unwanted shadows.
Want to do it the easy way?
If you want a professional headshot, and want someone else to take care of it for you, Berks Headshots is here to make it easy!
The technical: We’ll take care of this part!
The Practical: Ready to schedule? Book your professional headshot session instantly! Want more info on the process? Check out all our headshot session info here!